How to start using custom fonts in an Android App under 5 minutes
Posted on July 26, 2017 in Development
This post is part of the "under 5 minutes series". In this post I'll talk about how did I set up custom fonts to render text in TextView in an Android app.
Introduction
In this recipe, I'll show you how did I use a custom font to write text "Hello Fonts !" in TextView widget.
Download and setup custom Font
First, decide on the font that you're planning to use. Download it. I'm referring this sample font as "dot2dot.ttf".
Second, add this custom font in resource directory of android app.
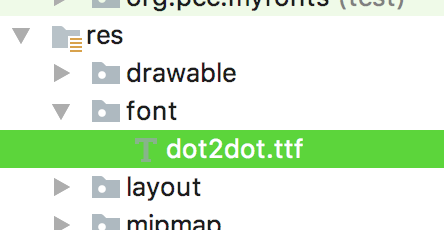
Clicking on font will open it in side window.
Creating Font family (XML resource file)
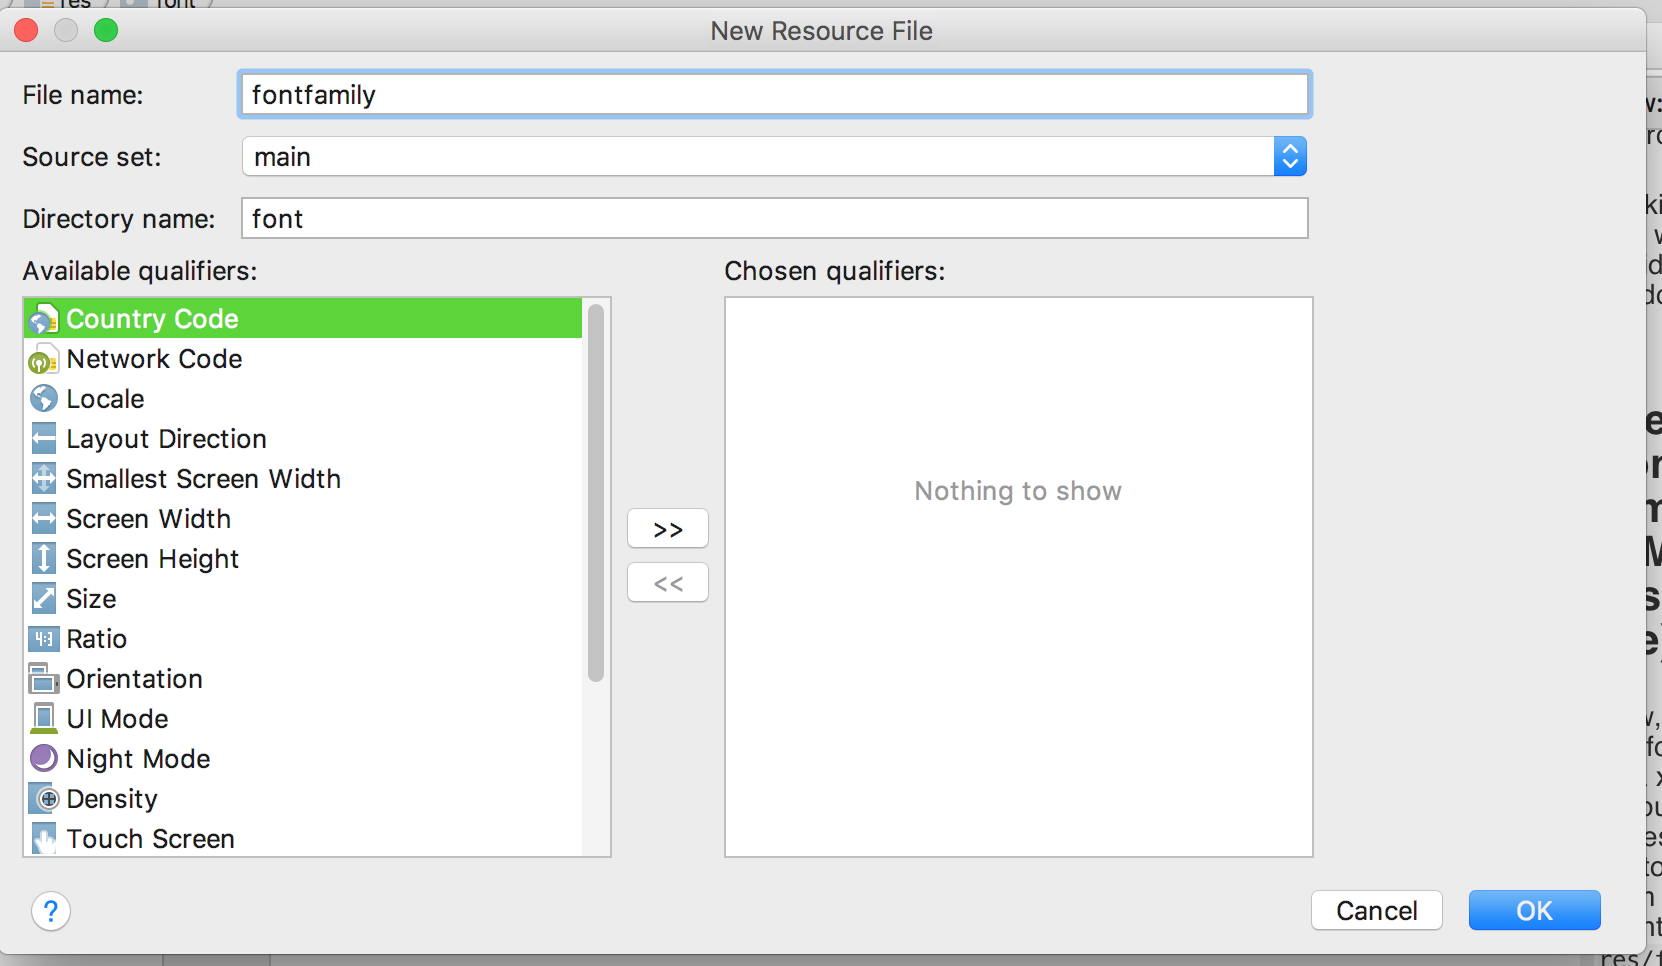
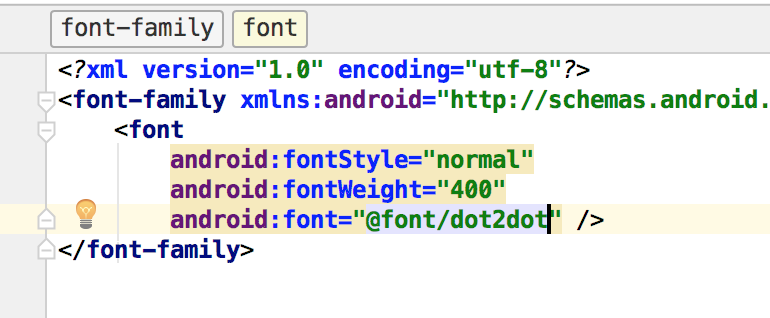
Now, create the font family or a xml resource file to access this custom font from code.
Right click on res/font folder and create a xml file:
Using the Font Family in TextView
Here's how font resource created in previous step can be accessed from TextView widget:
 <TextView
        ...

        android:text="Hello Fonts !"
        android:fontFamily="@font/dot2dot"
        android:textSize="36sp"

        ...
       />
That's pretty much all you've to do to start using a custom Font in your Android App.
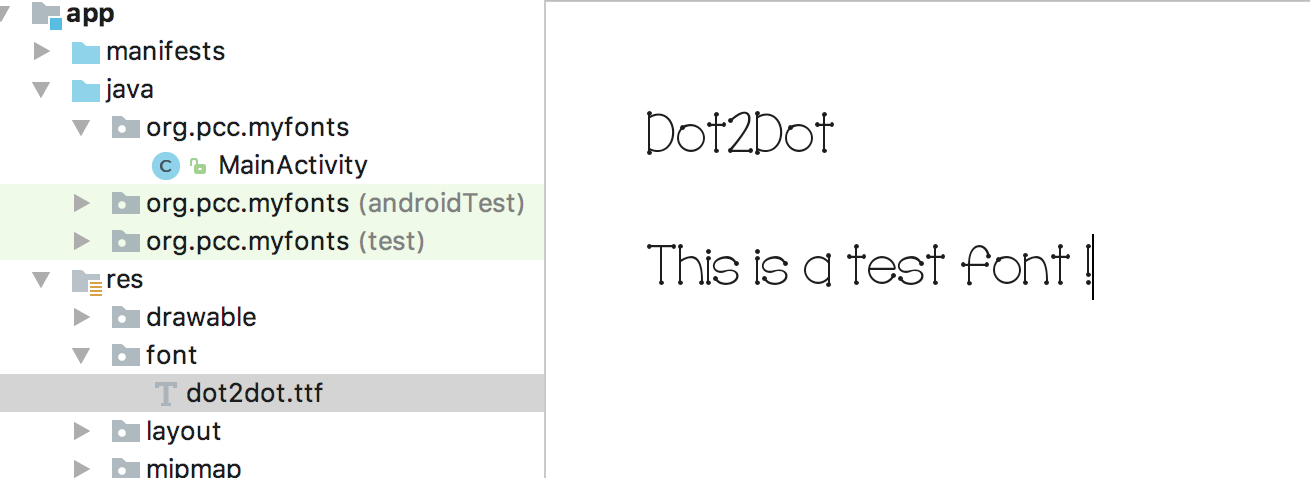
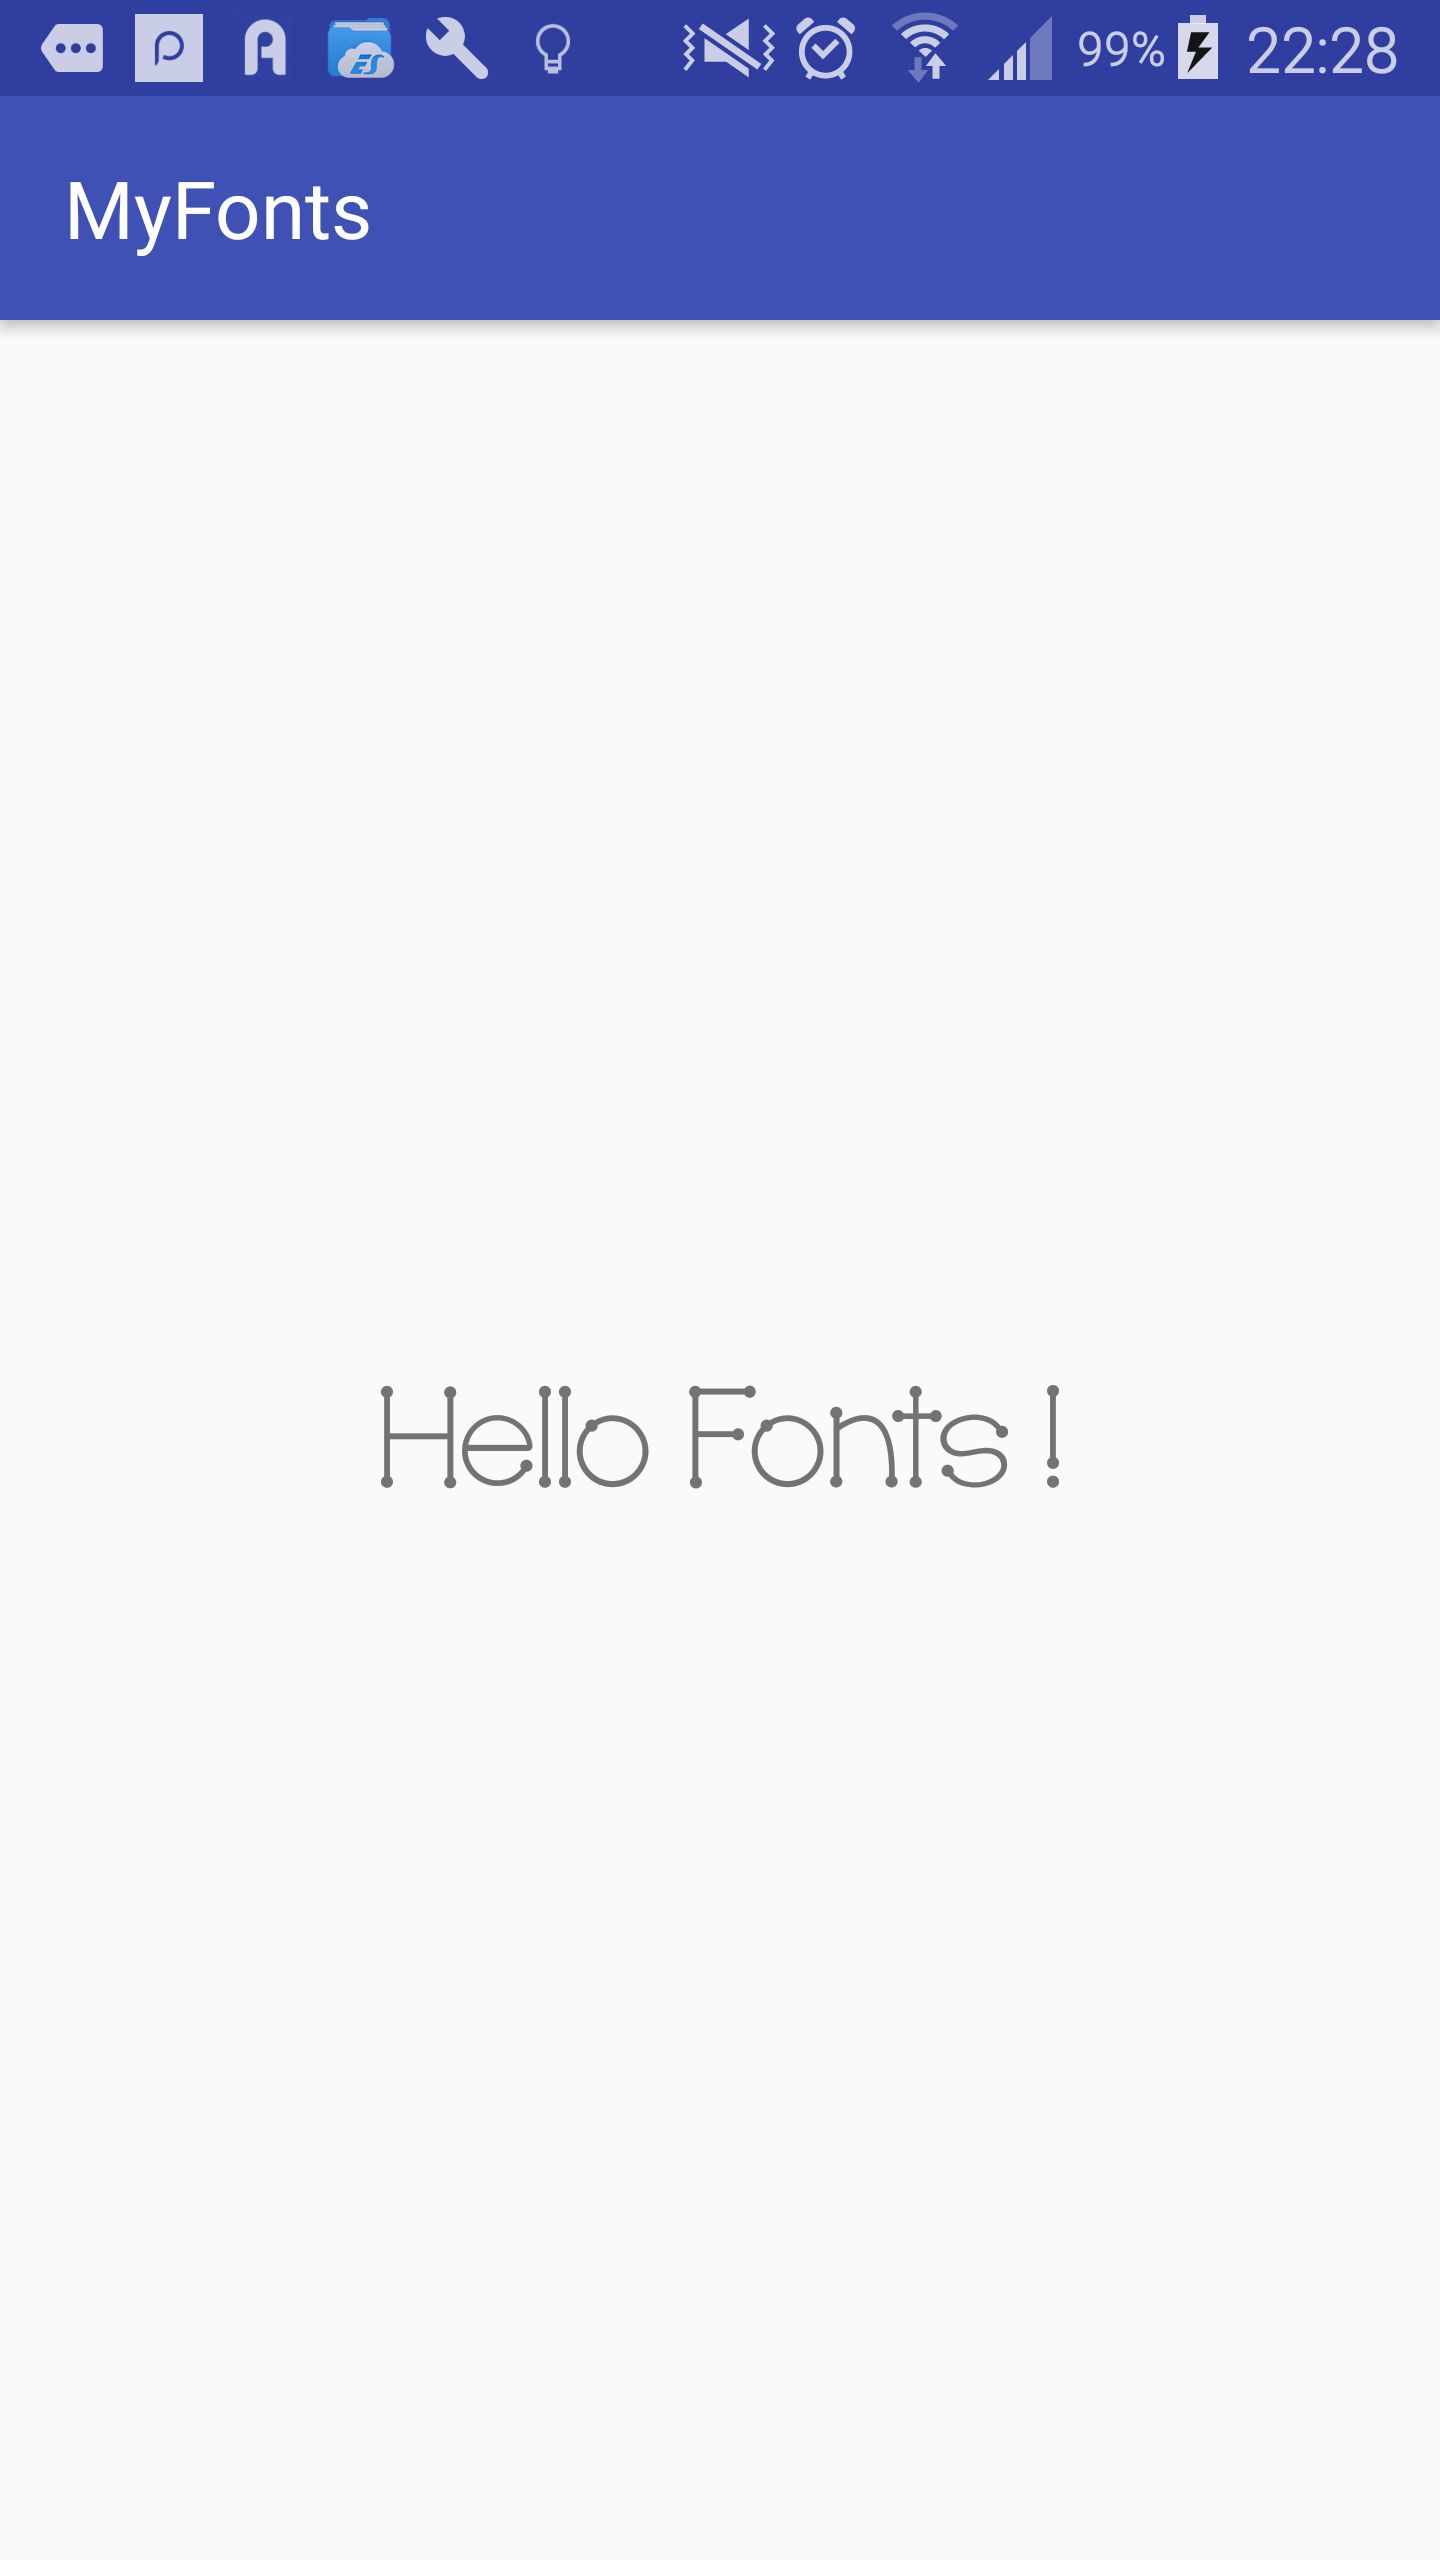
This is how the sample app's output look like:
Checkout the source code on Github
Checkout this article on my blog
Keep Exploring !
Note: This feature of Fonts in XML is got introduced in Android O.
Reference : Documentation