How did I integrated a launcher screen in an Android App under 5 minutes
Posted on June 16, 2017 in Development
Why Launcher Screen
A launch screen is the splash screen that is presented (optionally) to user when an app starts up. The main purpose for this screen is to keep user entertained while data is loading in the background and hence leave a good impression to your first time users. If your app takes some time to show the contents, then user is usually shown a blank screen. A blank screen may discourage users to wait and they just might get out of the app to not to return again, which could be very sad for your app. So, to make the waiting process bit less boring, the launcher screen (aka splash screen) can either be used to show app's logo to promote your brand or some interesting contents that makes user's waiting period more interesting.
How to implement Launcher Screen
Actually, its pretty straight-forward to implement a luncher screen. It's as simple as setting theme for the launcher activity in AndroidManifest.xml. Let's see the steps:
Step #1: Create the first activity that will launch your app. I'm using LauncherActivity as my launcher activity. This activity doesn't need a layout file of its own since it redirect flow to MainActivity (See Step #5 to know how its being done). It is declared with intent-filter category android.intent.category.LAUNCHER in AndroidManifest.xml.
<activity
  android:name=".LauncherActivity"
  android:theme="@style/LauncherScreenTheme">
      <intent-filter>
          <action android:name="android.intent.action.MAIN" />

          <category android:name="android.intent.category.LAUNCHER" />
      </intent-filter>
</activity>
Step #2: Create main activity for your app. I'm calling it MainActivity. This is the activity which presents the real app contents of the app. It could be data loaded in background when app is launching.
Don't forget to add this activity in your AndroidManifest.xml.
<activity android:name=".MainActivity"></activity>
Step #3: Now, we need to create a drawable for the launcher screen. A logo or any graphic that you want to show user in splash screen, needs to be set as background in this res file. Create the launcher screen xml resource file: launch_screen.xml under res/drawable folder. Basically, background set in here will be displayed as splash/launcher screen. I'm just using default android launcher logo for demonstration purpose. It could be your brand logo or any other graphic of your choice.
<?xml version="1.0" encoding="utf-8"?>

<layer-list xmlns:android="http://schemas.android.com/apk/res/android">
    <item>
        <color android:color="@color/colorAccent"/>
    </item>
    <item>
        <bitmap
            android:src="@mipmap/ic_launcher"
            android:tileMode="disabled"
            android:gravity="center"/>
    </item>
</layer-list>
Step #4: Create a theme LauncherScreenTheme for LauncherActivity. Set LauncherActivity theme to LauncherScreenTheme in AndroidManifest.xml as shown in Step #1. LauncherScreenTheme theme is defined in styles.xml:
<style name="LauncherScreenTheme" parent="Theme.AppCompat.Light.NoActionBar">
    <item name="android:windowBackground">@drawable/launch_screen</item>
</style>
Step #5: Redirect to MainActivity from LauncherActivity:
public class LauncherActivity extends AppCompatActivity {

    @Override
    protected void onCreate(Bundle savedInstanceState) {
        super.onCreate(savedInstanceState);

        //Present user UI which uses data loaded in the background.
        startActivity(new Intent(this, MainActivity.class));
    }
}
And That's all you needed to do to setup a launcher screen for your app.
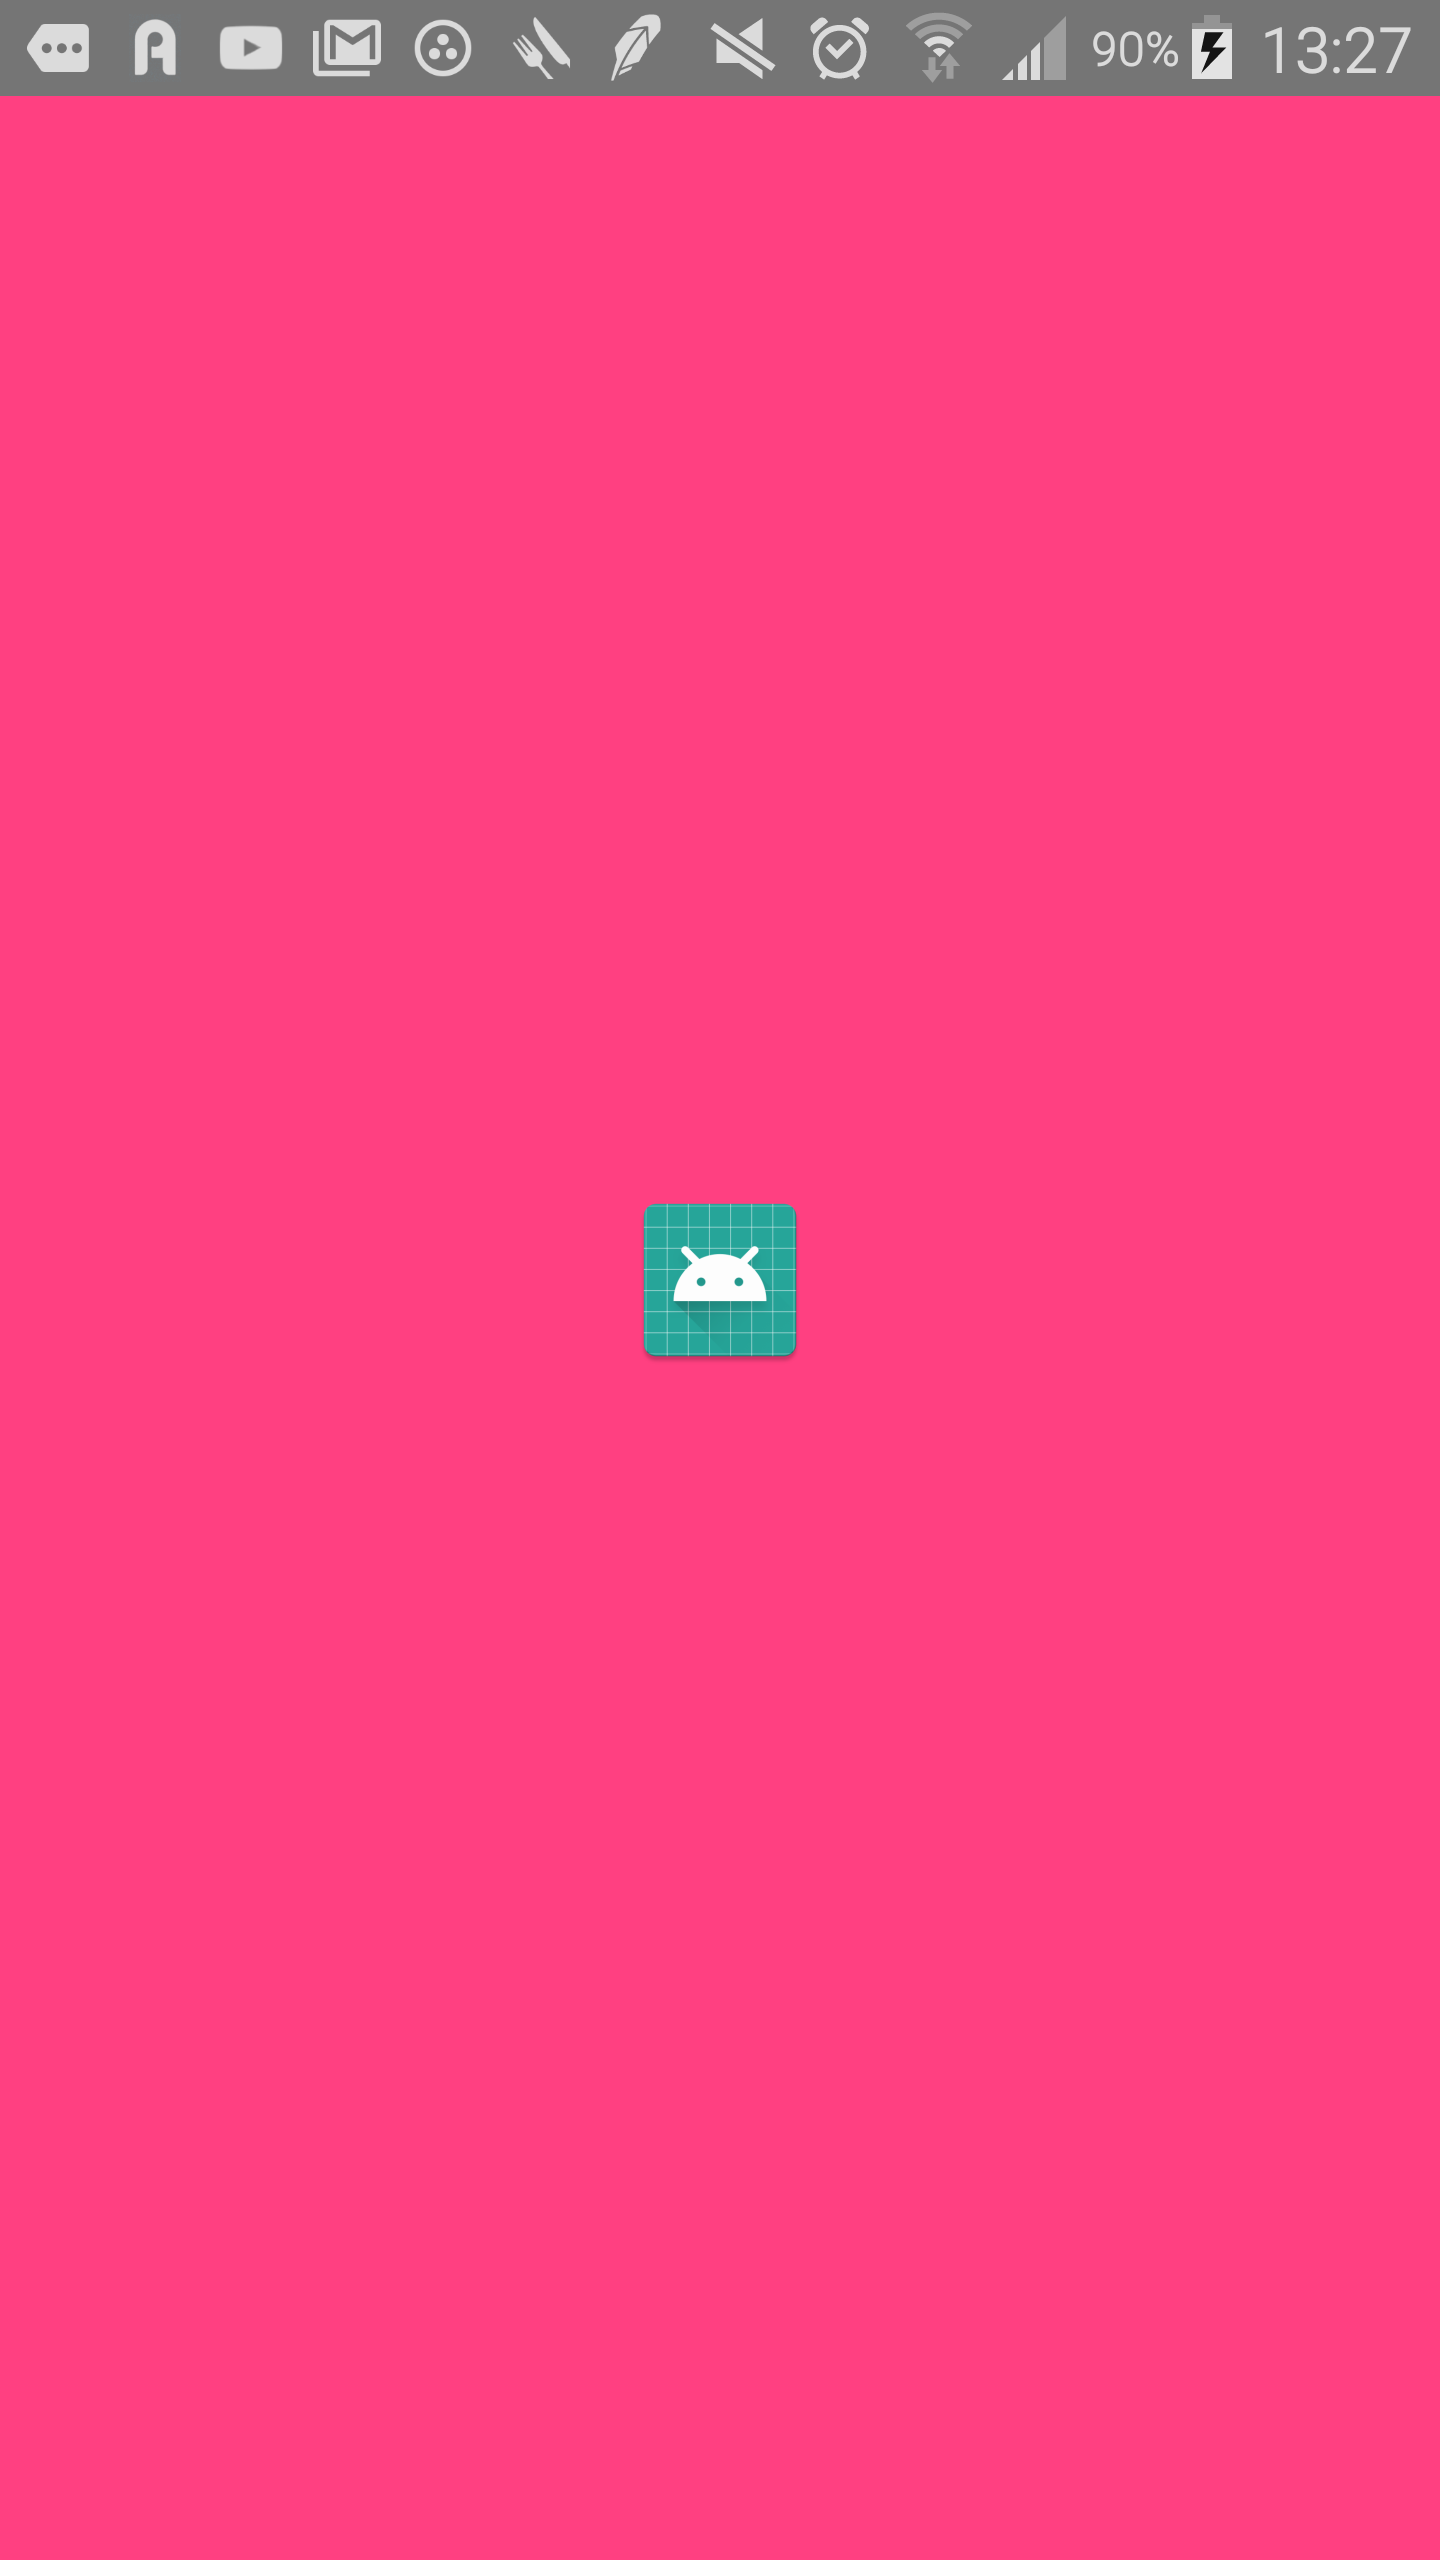
Here's how the launcher screen looks for the sample app:
Checkout the Source code for sample app available at github
References: Launch Screen Patterns